Table of Contents
If you want the best finish for your wood then sanding is a must. However, a lot of people find that sanding their way through the various grits is monotonous work and they’ll skip grits or rush through just to get the job done.
But don’t do this! Sanding wood properly is the key to a professional finish and is something of a labour of love. Many people that are new to woodworking wonder what grit you should start with before going through the entire sanding process.
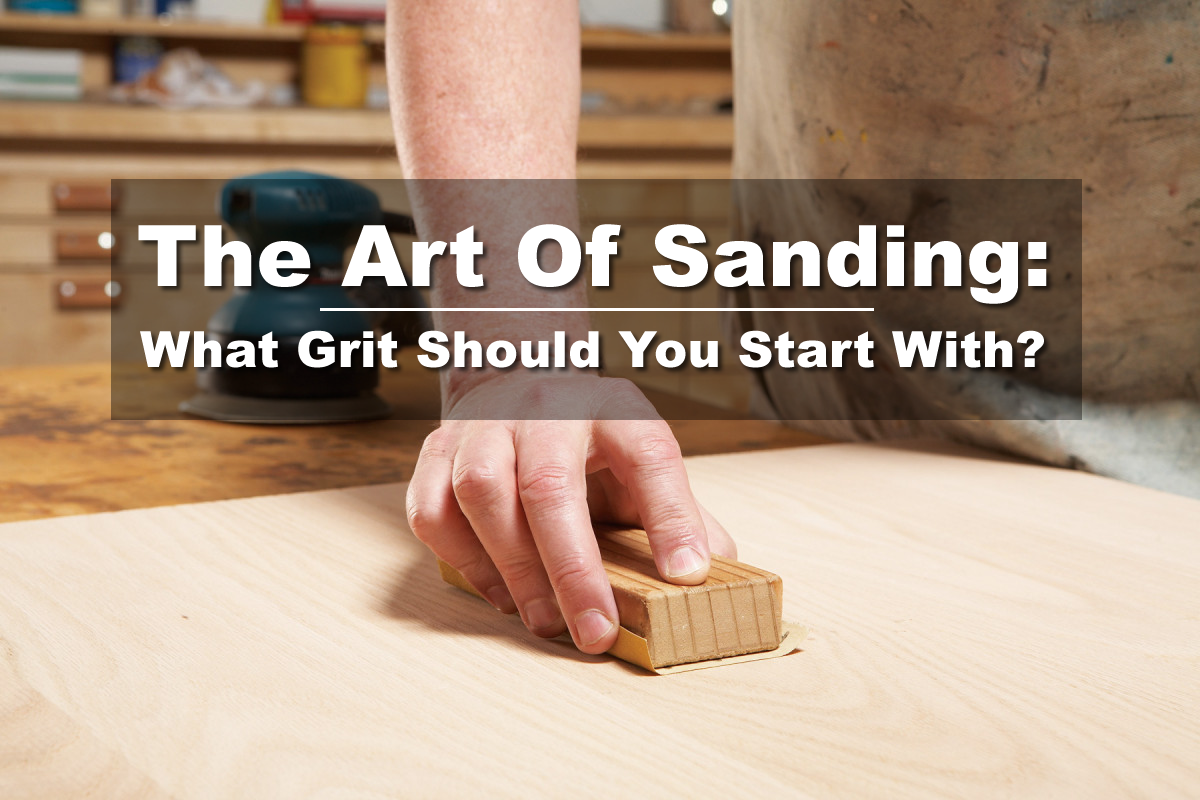
You’ll start with a coarse to medium grit but this will depend on the condition of the wood you are working with. In most cases, beginning with a P80 grit should be more than sufficient.
But there’s so much more to sanding than first meets the eye and in this guide, I’m going to talk about the importance of sanding through the grits as well as how to choose the right grit. Let’s begin.
Things To Think About When Choosing Sandpaper Grit
Before we get into the nitty gritty (excuse the pun) of sandpaper grits, it’s important to be able to assess the situation for yourself. As you get to know your sandpaper better, you’ll find it easier to choose the right grit for the job. But you will always want to ask yourself the following questions.
- Where are you in the sanding process? Are you calibrating, levelling, shaping the wood or preparing it for finishing? Do you need to sand between coats of paint or varnish and what is the end result that you’re looking to achieve?
- How much material are you looking to remove on any one side of the wood?
- If you are performing wide belt sanding; how many units do you have?
- Are you going to be hand sanding or are you planning to use tools?
- What is the final grit you would like to end up using?
- What material are you working with? Is it softwood or hardwood?
If you can answer these questions then you’ll have a much easier time selecting the right grit. If you are still unsure then it’s a good idea to follow the general rule that states you should begin by using the finest possible grit.
While you could choose something lower, and coarser, you’ll only be creating more work for yourself. Not only this but you’ll find that sanding is less efficient if you don’t start with the right grit.
Understanding Sandpaper Grit
Sandpaper comes under the umbrella term of coated abrasives and these are made by taking grains of abrasive materials and adhering them to some sort of backing.
They come in various styles including discs, belts and sheets as well as a whole host of grains and these determine how coarse or smooth the sandpaper is. This is what is known as sandpaper grit.
The numbers used to denote sandpaper grit are pretty standard across the board and are determined by the micro grain, sometimes called the sieve number. This is essentially how fast the grains sink during sedimentation.
With that in mind, I should point out that some manufacturers follow different standards but generally, you will find that the FEPA standing, which we will use for the purposes of this article, is the most common. In other cases, the number, usually denoted by a P may be denoted by a hashtag.
Below you’ll find a table that lists the various sandpaper grit numbers and which coarseness category they fall into. Later on, we’ll take a look at which jobs each of these grits are most suitable for.
| Coarse Grit | Medium Grit | Fine Grit |
| P8 | P100 | P240 |
| P12 | P120 | P280 |
| P16 | P150 | P320 |
| P24 | P180 | P360 |
| P30 | P220 | P400 |
| P36 | – | P500 |
| P40 | – | P600 |
| P50 | – | P800 |
| P60 | – | P1000 |
| P80 | – | P1200 |
Which Grits Do I Need To Use?
In the table you have just seen, I have listed all of the grit numbers up to P1200. But I should make you aware that it is possible to get even finer grits, in some cases, they may go up to P2500. If there are so many grit numbers, you may be asking yourself whether you need to have them all in your workshop.
In reality, you probably won’t need all of them. It very much depends on the work you’ll be doing and how you will be sanding. For example, whether you’ll be using a disc, belt or sheet.
As an example, if your main focus will be rough sanding then you’d need far different sandpaper grits than if you were only ever going to sand to prep for a stain finish.
In most cases, you won’t need to sand during every stage so you’ll be able to pick and choose which grits you’ll need to keep in stock. However, even for those of you that will need to move through several grits from coarse to fine, you probably won’t need to use every single one. There’s actually a golden rule to sanding and if you follow this, you’ll be able to limit how many grits you’ll need to use.
Before we look at the importance of following this golden rule, let’s take a brief look at which grits are best suited to which jobs. Using this table as a reference will help you make the best choice.
| Grit Number | Uses |
| P40 to P60 | For rough lumber Taking our lumps and bumps Taking off old finishes and paints |
| P80 | Getting rid of blade burns Getting rid of shallow marks and scratches The best starting grit for working with hardwoods |
| P120 | The best starting grit when working with softwoods |
| P150 | Use when prepping for enamel or polyurethane paints |
| P180 | Getting rid of irregularities on the surface of the wood Use when preparing the wood for latex or acrylic paints Use where there are raised wood grain fibres |
| P220 | Use when prepping for wood stain Starting surface finishing |
| P320 | Use when wet sanding Use when sanding between coats of paint |
| P400 | Use when prepping for oils To smooth off top coats Last grit for surface finishing |
| P600 and above | Use on materials other than wood such as metal and plastic Use when prepping for polishing |
Sticking To The Golden Rule
In some cases, you’ll find that you need to start with coarse grit and move all the way to a finer one at the end. This is where a lot of people tend to become bored with sanding since this can be a lengthy process. But it’s so important to go through the motions if you want the best finish.
So, the question you need to ask yourself is what grit do you start with? Typically speaking, a P80 grit will be just right but if the wood is a little rougher you may need to drop down to a P60 or even a P40. The key is that you should never skip more than one sandpaper grit.
If you begin with a P80 grit and are aiming to use P240 as your finishing grit then you don’t need to use every single grit in between the two. However, you shouldn’t miss out on more than one grit at any stage. For example, you could use P80, P120, P180 and finally P240. Doing this would leave out P100, P150 and P220.
Do note that this ‘golden rule’ should only be used when you’re working with high-quality sandpapers. If you go cheap and cheerful you’ll probably have your work cut out for you and will need to include all grits between your starting and finishing point.
Understanding How Sanding Works When Choosing Grits
To better understand the importance of using the golden rule, it helps to know exactly what’s happening when you are sanding. Essentially, you’re using a cutting tool to make scratches on the surface of the wood; these look like peaks and valleys and are known in the woodworking industry as RA and RZ.
When we sand with a coarser grit, we make high peaks and then as you move to a finer grit, you’ll be evening these out with the intention of creating a smooth surface at the end. However, the key is not to affect the ‘valleys’ as this can cause the wood to close up and the finish will be blotchy and less than perfect.
So, this shows us that each grit you use should remove any scratches from the one before. If you skip too many grits, the latest sandpaper won’t have this ability so you aren’t going to get the result you’re looking for. What happens here is known as over sanding which will cause the wood to take on a swirled appearance.
However, when you stick to the golden rule, you’ll be able to gradually remove the scratches made with the previous grit so that the end result is smooth and professional.
Conclusion
Sanding wood and other materials is something of an art and it’s important to follow all of the steps if you want a scratch-free finish. While sanding through all of the grits can be a bore, you’ll thank yourself when you see the end result. Of course, there may be times when you don’t need to do this and choosing the right sandpaper grit should be done according to what you’re trying to achieve.
Knowing what grit you should start with is important and generally speaking, for coarse to fine sanding, you’ll want to start around a P80.