Table of Contents
Nobody wants to spend longer doing a job than they need to but when it comes to hand sanding, there’s no denying that it’s a much slower process than when you use a powered sander. But if you’re looking to discover what the fastest easy to sand wood by hand is, then you’re in the right place.
Why Hand Sand Wood?
Even if you’ve put your powered sanding tools to good use, there are always going to be times that you need to go for something a little more intricate. For example, when you’re finishing off a project, there may be areas that require a little more attention to detail that only hand sanding can achieve.
But one thing that just screams out in need of hand sanding is putting the final touches on your project. No matter what grit sandpaper you use or how good your powered sander is, it’s going to leave little scratch marks on the surface of the wood. Without giving these the once over using proper hand sanding techniques, you’ll find that any wood treatments or paints you use settle into the scratches and leave a less than desirable finish.
What’s more, hand sanding gives you way more control which is essential when you’re doing things like rounding off corners,
Tips For Quick and Efficient Hand Sanding
Before we get into the tips, we’d like to point out that you should never seek to rush the hand sanding process. By its very nature, it’s a slower process so you have to take this into consideration. That said, by using the right equipment and approach, you can make it speedier than it would otherwise be. Let’s take a look at our fast hand sanding tips.
Choosing The Right Grit
Sanding removes material from the surface of the wood in order to remove imperfections as well as to change the edge shape of the wood. When you start sanding a piece of wood, you’re going to want to use a very coarse grit as this will take away the most intense marks and imperfections. However, that doesn’t mean you have to go in with the coarsest sandpaper you own.
The key is to use one that’s just coarse enough to get rid of the imperfections without creating any extra work for yourself. If you go too coarse, you’ll only have to remove further imperfections down the line which is going to add to the time spent sanding. That said, if you choose something not coarse enough, you’ll have to spend much longer getting those initial defects out of the wood.
Generally speaking, using 80 grit sandpaper is a good place to start. That is unless the wood is already pretty uniform without any serious marks, in which case, you might start with 100 grit. But you should keep in mind that both of these grits will leave very fine marks behind which will need to be buffed out.
So naturally, the next step is to use something slightly less coarse to get rid of those prominent scratches and replace them with smaller ones. It might seem counterproductive, but sanding really is a process. At this stage, we would recommend going for a 120 grit if you started with 80 grit or a 150 grit if you started with 100 grit.
Next, you will want to use a very fine grit to put the finishing touches to your wood. Normally, something around 220 would suffice but there are some dense grain woods that might need something even finer. If you’re working with a material like ebony then going up to 400 grit isn’t uncommon.
By following this process, you will save yourself time as you’ll get just the right results from each sandpaper which means less work over the course of things.
A Note On Paper
Regardless of what grit sandpaper you choose, it’s important to think about the quality. As with anything else, there are some cheaper sandpapers and those that are considered premium. While the premium papers may be a little more expensive, they’re always worth choosing if you’re looking to sand in as little time as possible. What’s more, the final result will be much more professional and the paper will stay sharper for longer so you’ll get more use out of it.
Don’t Skip The Sanding Block
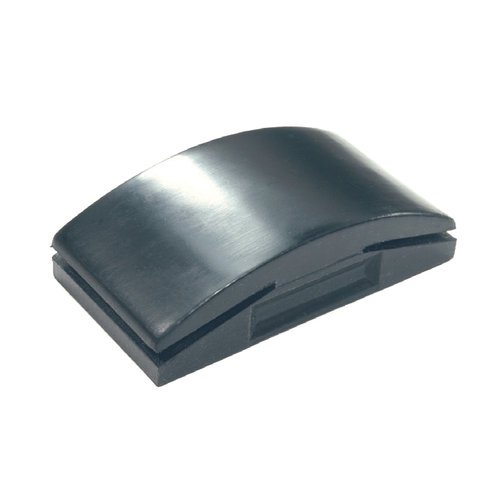
When you’re nearing the end of your project and it’s time to sand, you might think that just grabbing a piece of sandpaper and getting to work will be the most time efficient way of doing things. But don’t be fooled. If you simply fold your sandpaper and use it as it is, it’s going to take you longer to get a good result. That’s why we always recommend using a sanding block.
The reason this is so efficient is that the block allows for much more even pressure while you sand meaning there is less chance of over sanding or understanding a particular area. If this happens, you’re only going to have to go back over it, spending more of your precious time. What’s more, when you use a block, you’re able to press harder which means you will be able to sand more quickly.
You can buy sanding blocks and pads online and in DIY stores but it’s also possible to make your own. You can use anything from a block of scrap wood, some rubber or even a pool noodle cut into smaller pieces or a putty knife for those tighter spots.


A Note On Sanding Blocks
It doesn’t matter what type of sanding block you use, it’s only going to work as well as the sandpaper you have on it. One of the mistakes that so many make is not changing their sandpaper often enough. Once it starts to dull, it isn’t going to perform as well so it will take longer to achieve the same results. If you’re looking to save time, you absolutely must change your paper often. Just keep an eye out for when the sandpaper stops cutting as well and you’ll know it’s time to switch it up.
- Lasts up to 5 times longer than standard sandpaper
- Strong, flexible connection of abrasive grains to...
- Ideal for flat grinding work, for example when...
- Scope of Delivery: 1 x Bosch Expert S471 standard...
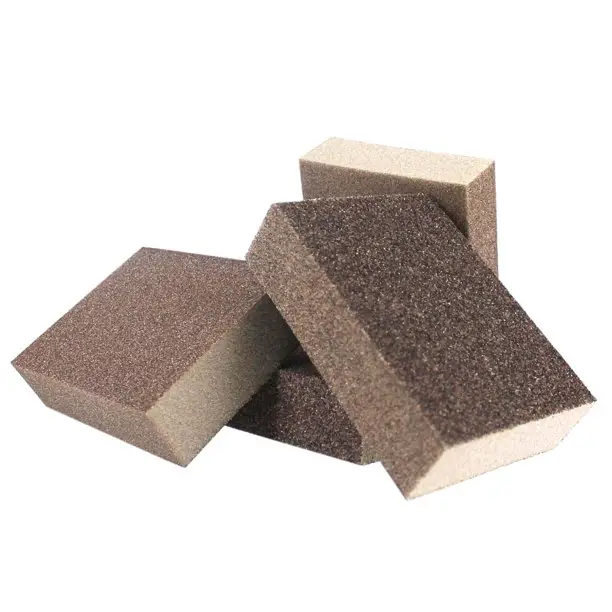
- 【High Quality Material】The sanding blocks made...
- 【6 Different Specifications】The Sanding...
- 【Washable and Reusable】The sanding sponges are...
- 【Portable Size】The size of each block is 10 x...
- 【Widely Used】Can be used for sanding putty,...
Don’t Overdo It
As we touched upon earlier, the more you can press down when hand sanding, the faster things will be. However, you don’t want to go too over the top as this will remove more material than you intend and will only create more work for you.
If you want to achieve the most high-quality result then you’ll need to educate yourself on when to stop depending on the type of wood you are using and the finish you would like.
For open grain wood like walnut and oak, you will notice that the texture is much rougher and that the grain lines are more coarse. This means that if you try to sand a fine grain line, you will be spending a lot more time and effort than you need to.
For closed grain woods like cherry and maple, the texture is much smoother and more uniform. This means that you’ll need to use much finer grit sandpapers to properly get out any scratches.
Conclusion
Saving time when sanding is important to a lot of people. However, you should keep in mind that hand sanding does take longer than when using a powered sander. That said, by using the best approaches discussed in this guide, you will find the fastest way to sand wood by hand and won’t have to waste any time.


