Table of Contents
If you’ve found that a piece of furniture, door or even a project you’re currently working on has an imperfection or has become damaged, you’ll want to fix it so that it looks seamless. But getting wood filler to blend in once you’ve stained the wood can be the stuff of nightmares.
But it doesn’t need to be. Doing things like conditioning the wood before filling and ensuring that your chosen wood filler is as close to a match to the actual wood as possible are just some of the actions you can take to ensure a uniform finish.
In this guide, we will be going deeper into the topic and exploring how to make your wood look perfect, even if there are a few sneaky fills in there. Nobody will ever know!
Why Does Wood Filler Make Stain Look Blotchy?
When you apply stain to wood that has been repaired using a wood filler, you will notice that those areas tend to stand out more, giving the wood a blotchy-looking appearance. We’ve got a full guide on how to fix blotchy wood stain here but for now, let’s focus on wood filler.
The problem is that wood filler is not designed in such a way that it will absorb the stain in the same way that the wood does.
This means that, instead of soaking into it, it’s more likely to just pool around it. The result? An area of wood that looks as though it’s shouting ‘look at me!’
Should I Stain Over Wood Filler?
If you can help it, it’s best not to stain over wood filler. This material is like putty and simply doesn’t have the same properties as wood, hence why it doesn’t react in the same way.
That said, if you’ve got an imperfect piece of wood, you’re hardly likely to leave it that way so you’ll want to repair it.
If you have to use wood filler and need to stain it afterwards, we would recommend looking for a stainable wood filler. These are widely available and will produce much better results than any old product.
But do keep in mind that even a stainable wood filler isn’t going to perform like natural wood so the results may still not be absolutely spot on.
How To Hide Wood Filler After Staining
If you’ve completed your project (or so you think) and the wood stain has dried to reveal some pretty obvious areas of filler then don’t panic yet. All is not lost and it is possible to recover the wood and end up with something much more visually pleasing.
Sanding The Wood
The first thing you will need to do is to sand the entire piece of wood. However, you’ll need to pay much closer attention to the parts where the wood filler was applied. Be sure to use high-grade sandpaper and take your time to ensure an even finish.
Cleaning The Wood
Now that you’ve sanded the whole piece down, you’ll want to clean it. You don’t need any special products to do this; simply using a clean cloth and warm water will be more than enough. What you’re trying to do here is to remove any dust or dirt left behind from sanding.
Conditioning The Wood
The next step is to apply a wood conditioner to the entire piece you are working on. You’ll need to make sure you go with the grain during application and leave it on for at least 15 minutes before wiping it away. Using a conditioner, you will find that the stain soaks into the wood far more evenly.
Staining The Wood
Once you have wiped away the excess wood conditioner, it’s time to stain your piece. It’s really important to make sure you apply in the direction of the grain and ensure a smooth and even coat across the entire piece of wood.
Also keep in mind that the longer you leave the stain on, the darker it will be. You can wipe any excess away as soon as you please. However, if you want to leave it to develop, then remember, it may end up being quite dark.
In any case, once you have wiped the wood, you will need to allow it time to dry. Usually, this takes around four hours, although it can’t hurt to leave it longer. If necessary, you can now apply a second coat.
After this, you can then apply a protective finish to the wood, using the same method of going with the grain and allowing time for the finish to dry between coats.
Preventing Obvious Wood Filler Before Staining
It’s all well and good working to remove areas of obvious wood filler after you’ve stained but it’s far more preferable to prevent it happening in the first place.
- Before applying any wood filler, you will need to prepare the hole first. Do this by removing any dust or debris from inside and cutting away any loose or rough wood from around the edges. You can now use a piece of sandpaper to smooth off the edges and make them as even as possible. Once you apply the stain, if any parts are uneven, this will be blindingly obvious so take your time.
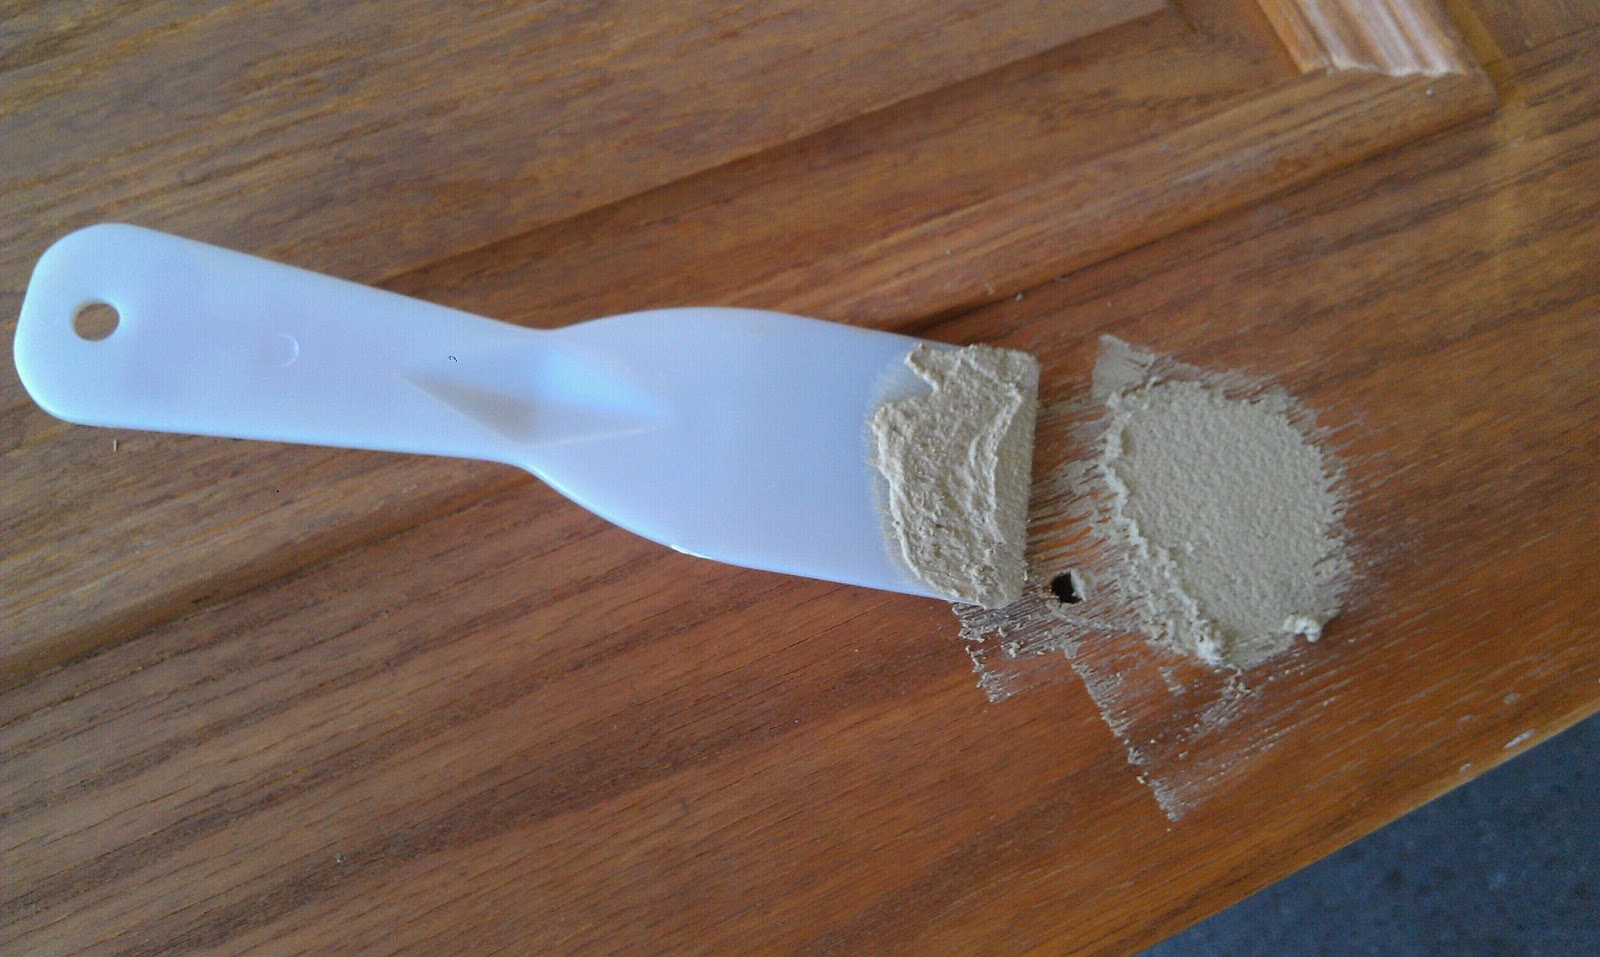
- When applying the wood filler, make sure to apply enough that it fully fills any gaps or holes. It doesn’t matter if there appears to be too much as you can remove any excess once you’re done.
- Now give the wood filler enough time to completely dry before moving on to the next step.
- When the filler is dry, take a piece of medium to high-grade sandpaper and use this to blend the wood filler into the wood as much as possible. Doing this by hand is preferable to using a powered sander as you will have more control over the finish. If you feel that everything is smooth enough, run your hand over it to make sure and if there are any areas of unevenness, keep going until you’re happy
- Clean the area thoroughly to ensure that all dust, dirt and debris are removed prior to staining.
- You’re now ready to apply your wood stain in the same way that we discussed earlier. If all goes well, you shouldn’t notice any blotching or obvious areas of wood filler and there will be no need to start all over again!
Conclusion
There aren’t many things in life that are more frustrating than seeing a piece of stained wood with obvious imperfections. But if you don’t prepare your wood properly after using a filler, your stain will never be even.
Fortunately, you can sand things back and rectify the problem but it’s always best to try to prevent this from happening in the first place.