Table of Contents
When working with wood, this natural material may be susceptible to cracks, holes and other defects throughout the grain that will ruin the aesthetic appearance of your project. But there is no need to discard the wood and source a new piece, wood filler is a great way to restore the wood, fill in gaps and prevent waste.
However, there is something of a debate that argues whether wood filler is best or whether you’d be just as well making a DIY version of this product. As with anything, there are pros and cons to both and in this guide, we are going to be exploring your best options.
What Is Wood Filler Used For?
Wood filler is a paste-like substance that is used to fill in cracks, gaps or other types of damage to wood, whether that is part of its natural grain or through inaccuracy of joints. If you make a mistake when woodworking or find that a piece of wood has some kind of imperfection, your initial instinct might be to throw it out; but there really is no need. Using wood filler will allow you to restore the appearance and repair any damages with extremely immaculate results.
Buy Versus DIY
Wood filler is widely available both in DIY stores and online; in fact, later on, we will be introducing you to some of our favourite products. However, there is also the option to do it yourself and make an at-home wood filler, saving you money. That said, you will need to put in a little more effort this way so it won’t save time. As we said earlier, there are pros and cons to both methods.
Cost
One of the most obvious benefits of making your own wood filler using a DIY method we will look at later on is that you’re going to save money. Now, don’t get us wrong, wood filler isn’t exactly the most costly product on the market, but as they say, a penny saved is a penny earned and who doesn’t want to save where they can?
Colour Match
You must consider the colour of the wood filler; if it is too dark or too light, it is going to affect the appearance of your project, perhaps even more so than the imperfection you are trying to cover. That said, there are some people who like the idea of using a slightly different colour filler to give the wood a bit of personality.
When you follow the DIY method, you are able to use wood from the same project which will allow you a pretty close colour match. There are several different colours relating to the kind of wood you are using when buying wood filler so you do have a good choice and can usually get something that matches pretty closely.
Durability
In terms of durability, some of the store-bought products offer incredibly high performance. These products have been manufactured using high-quality ingredients and are designed to stand up to a decent amount of punishment.
With that in mind, if you use good quality wood glue then you will still be able to make a pretty strong DIY wood filler. However, if you have an especially large crack in the wood then it might be better to use epoxy as this will provide the piece with far more structural integrity.
How To Make Wood Filler – DIY Method
If you don’t want to spend any money, then it is entirely possible to create a DIY wood filler solution. As we have discussed, this will require a little more effort on your part but it isn’t so much that it is going to take over your entire day.
The great thing about this method is that you can use materials you will already have lying around your workshop. However, if you want the most reliable results, we would recommend using a piece of wood that is left over from the project you are working on. This will allow the most identical colour match which is essential in terms of aesthetics.
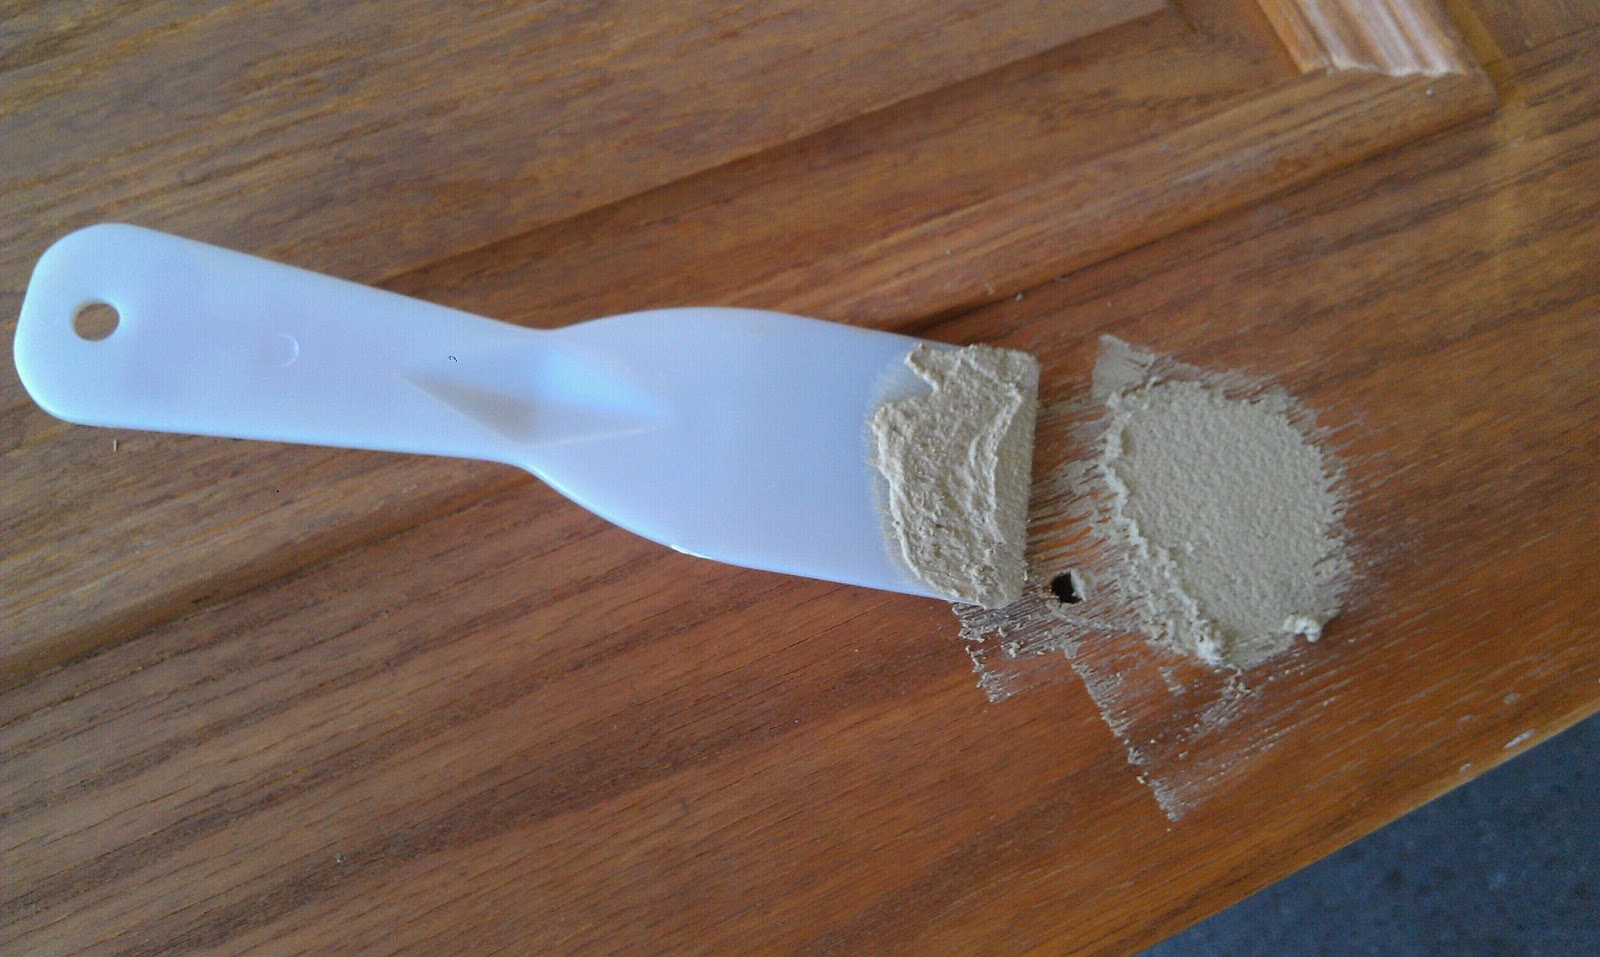
You will need this small piece of scrap wood and a bottle of wood glue. Begin by taking some 80 grit sandpaper and using this on the scrap wood. What you’re trying to do here is create enough dust for your paste. When you feel that you have enough, you can now add in a few drops of the wood glue. Keep in mind that a little goes a very long way and so you will be better adding it bit by bit; you can always add more, but taking it away isn’t so simple.
If you don’t want to manually sand the wood to gather dust, it is entirely possible to use your orbital sander along with a collection bag and then you can simply take the dust out of the bag; this is a much quicker process.
Start mixing the wood glue into the dust using a mashing action, pressing the dust into the glue until you end up with a paste. The consistency shouldn’t be too thick or too thin so use your judgement to know when it is ready. You can now apply this using the fingertips to the imperfection in the wood. Press it into the gap and smooth it out as best as you can. One important thing to remember is that the paste won’t take long to dry so you will need to work quickly.
After around ten or fifteen minutes after application, you can take some sandpaper and smooth off the paste to give an even finish.
There is an alternative method of doing this which involves replacing the wood glue with CA glue. Now of course, this glue is not as ‘friendly’ as your wood glue so please remember to mix and apply it using a small utensil. Even something as simple as a small, thin piece of wood will do the trick. Once the mixture is made, you can apply it in the same way you would when using wood glue.
Another essential thing to keep in mind when using this type of glue is that the colour of the DIY wood filler will be a little darker. That said, you could allow this to work in your favour and make a feature out of it, giving your piece a bit of unique character.
https://youtu.be/mEiCrG0wvnI
A great video showing how to make your own wood filler
Buying Wood Filler
If making your own wood filler seems like too much of a challenge, then you will be pleased to know that there are several ready-made products out there that are simple and easy to use. They can be applied in exactly the same way and offer greater convenience. While there are a lot to choose from, we particularly favour these;
Highest Rated Wood Filler – Konig Wax Filler Sticks

One of the greatest things about these wood filler wax blocks is that they come in an incredible range of colours. Moreover, you don’t need to stick to just one, the colours can be mixed to achieve exactly the right tone for your project.
For anyone who wants a professional grade product, we would recommend these but do keep in mind that the wax will need to be melted prior to application. Once applied, you are left with a durable finish that can be worked with in the same way as your wood.
Best Value Wood Filler – Ronseal High Performance Wood Filler

If it is durability you are looking for then this wood filler from Ronseal is one of the best products out there. Once applied and dried, it can be treated in exactly the same way as the rest of the wood and is suitable for drilling, planing and other types of work. What’s more, it isn’t going to break the bank and offer excellent value for money.
This wood filler is suitable for a wide range of applications but performs particularly well when filling in gaps where rotten wood has been cut away.
Conclusion
Wood filler is an incredible product when it comes to repairing imperfections in wood and whether you decide to make your own or buy a premade mixture, it is certain that you will save yourself from having to throw out a lot of wood. There are pros and cons to using either type of product so be sure to weigh up your options before making a decision.