Table of Contents
Drilling a hole is one of the simplest things you can do with a drill. It’s also one that most people are terrified of. That’s because they don’t know how to do it right!
This article will take the fear out of drilling holes, and show you how to get perfect straight holes every time.
Step 1: What material are you cutting into?
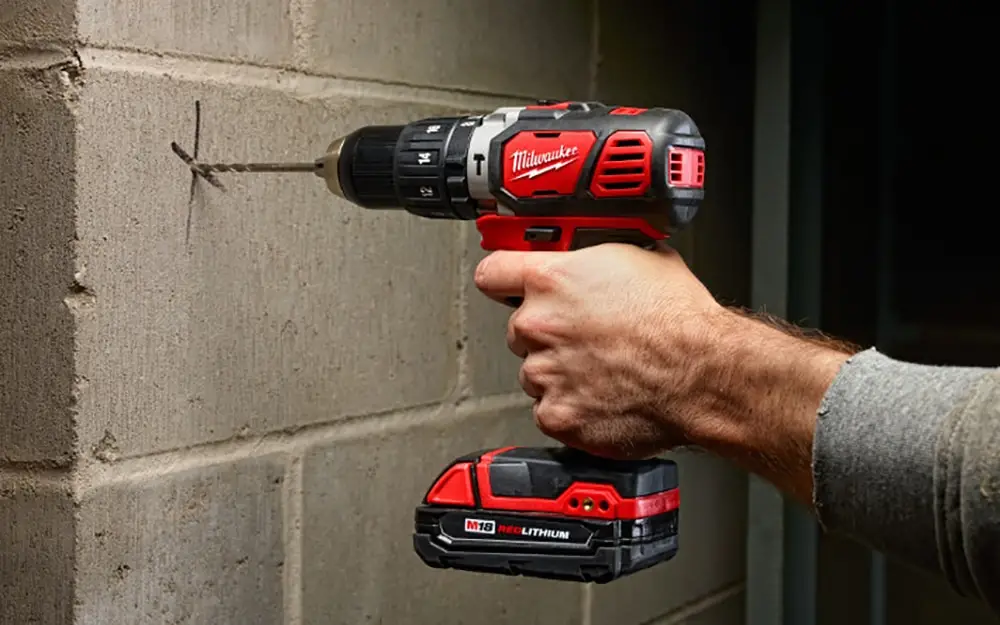
To drill the perfect hole, we first need to establish what material you are drilling into. Typically you may be drilling a hole in a wall to hang a shelf or bracket, or you may be drilling into the wood to secure pieces of wood together. What you are drilling into will determine the techniques and tools required as you will find out below.
Step 2: Prepare the material
Depending upon what material you are using, you may need to prepare the surface to get a good result.
For example, if you are drilling into metal, then it is advisable to oil the surface of the metal where you are about to drill to provide lubrication for the drill bit and to help reduce heat build-up during the drilling, which could quickly dull the drill bit.
When drilling all the way through a piece of wood, for example, unless the exit hole is supported or covered with a piece of sacrificial wood, you may get what is known as blow-out, or tear-out.
What is Blow-out / Tear-out:
Blow-out is the term used when drilling all of the way through a piece of material, the face of the wood where the exit hole is, splinters as the drill bit pushes through. This is because there is nothing supporting these wood fibres and the drilling action causes these fibres to break or splinter away from the rest of the board.
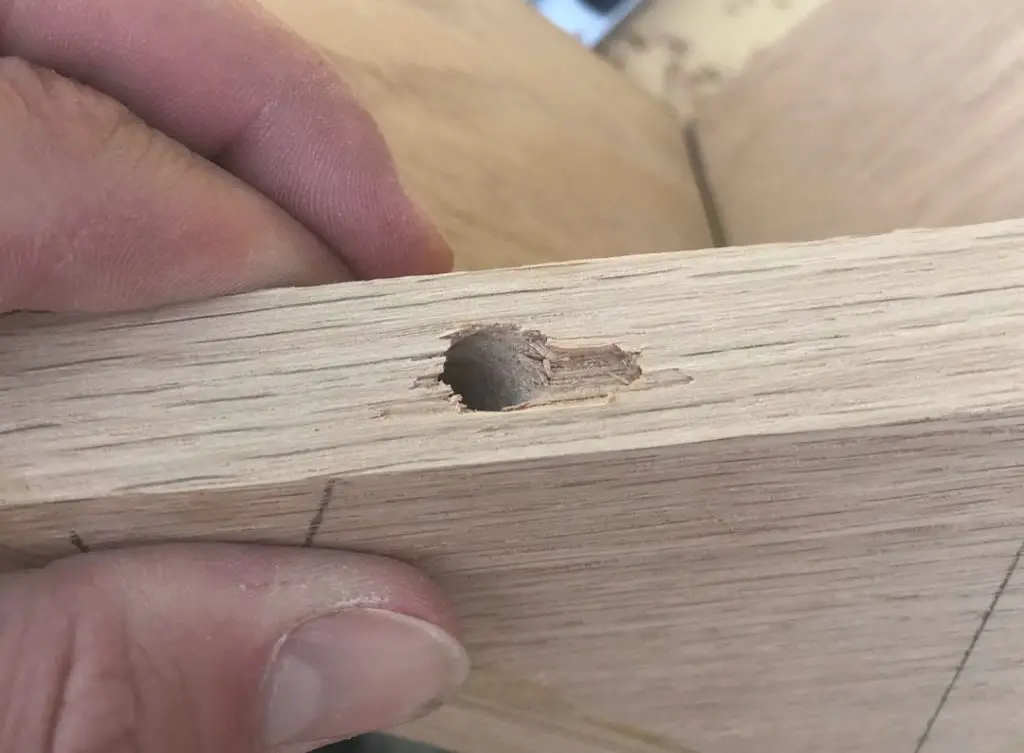
Preventing Blow-out / Tear-out:
To reduce the likelihood of blow-out when drilling all the way through a piece of wood, it is always best to support the wood fibres where the drill will exit the hole. You can either use a piece of tape (painter’s tape works well) under the exit hole or better still, use a piece of sacrificial wood and sandwich the two pieces together so that you will be drilling through one piece (your actual work-piece) and through into the sacrificial piece.
Both methods will greatly reduce the risk of blow-out and wood splintering when drilling through-holes.
Step 3: Select the right drill bit for the type of material you are drilling into.
You can choose from:
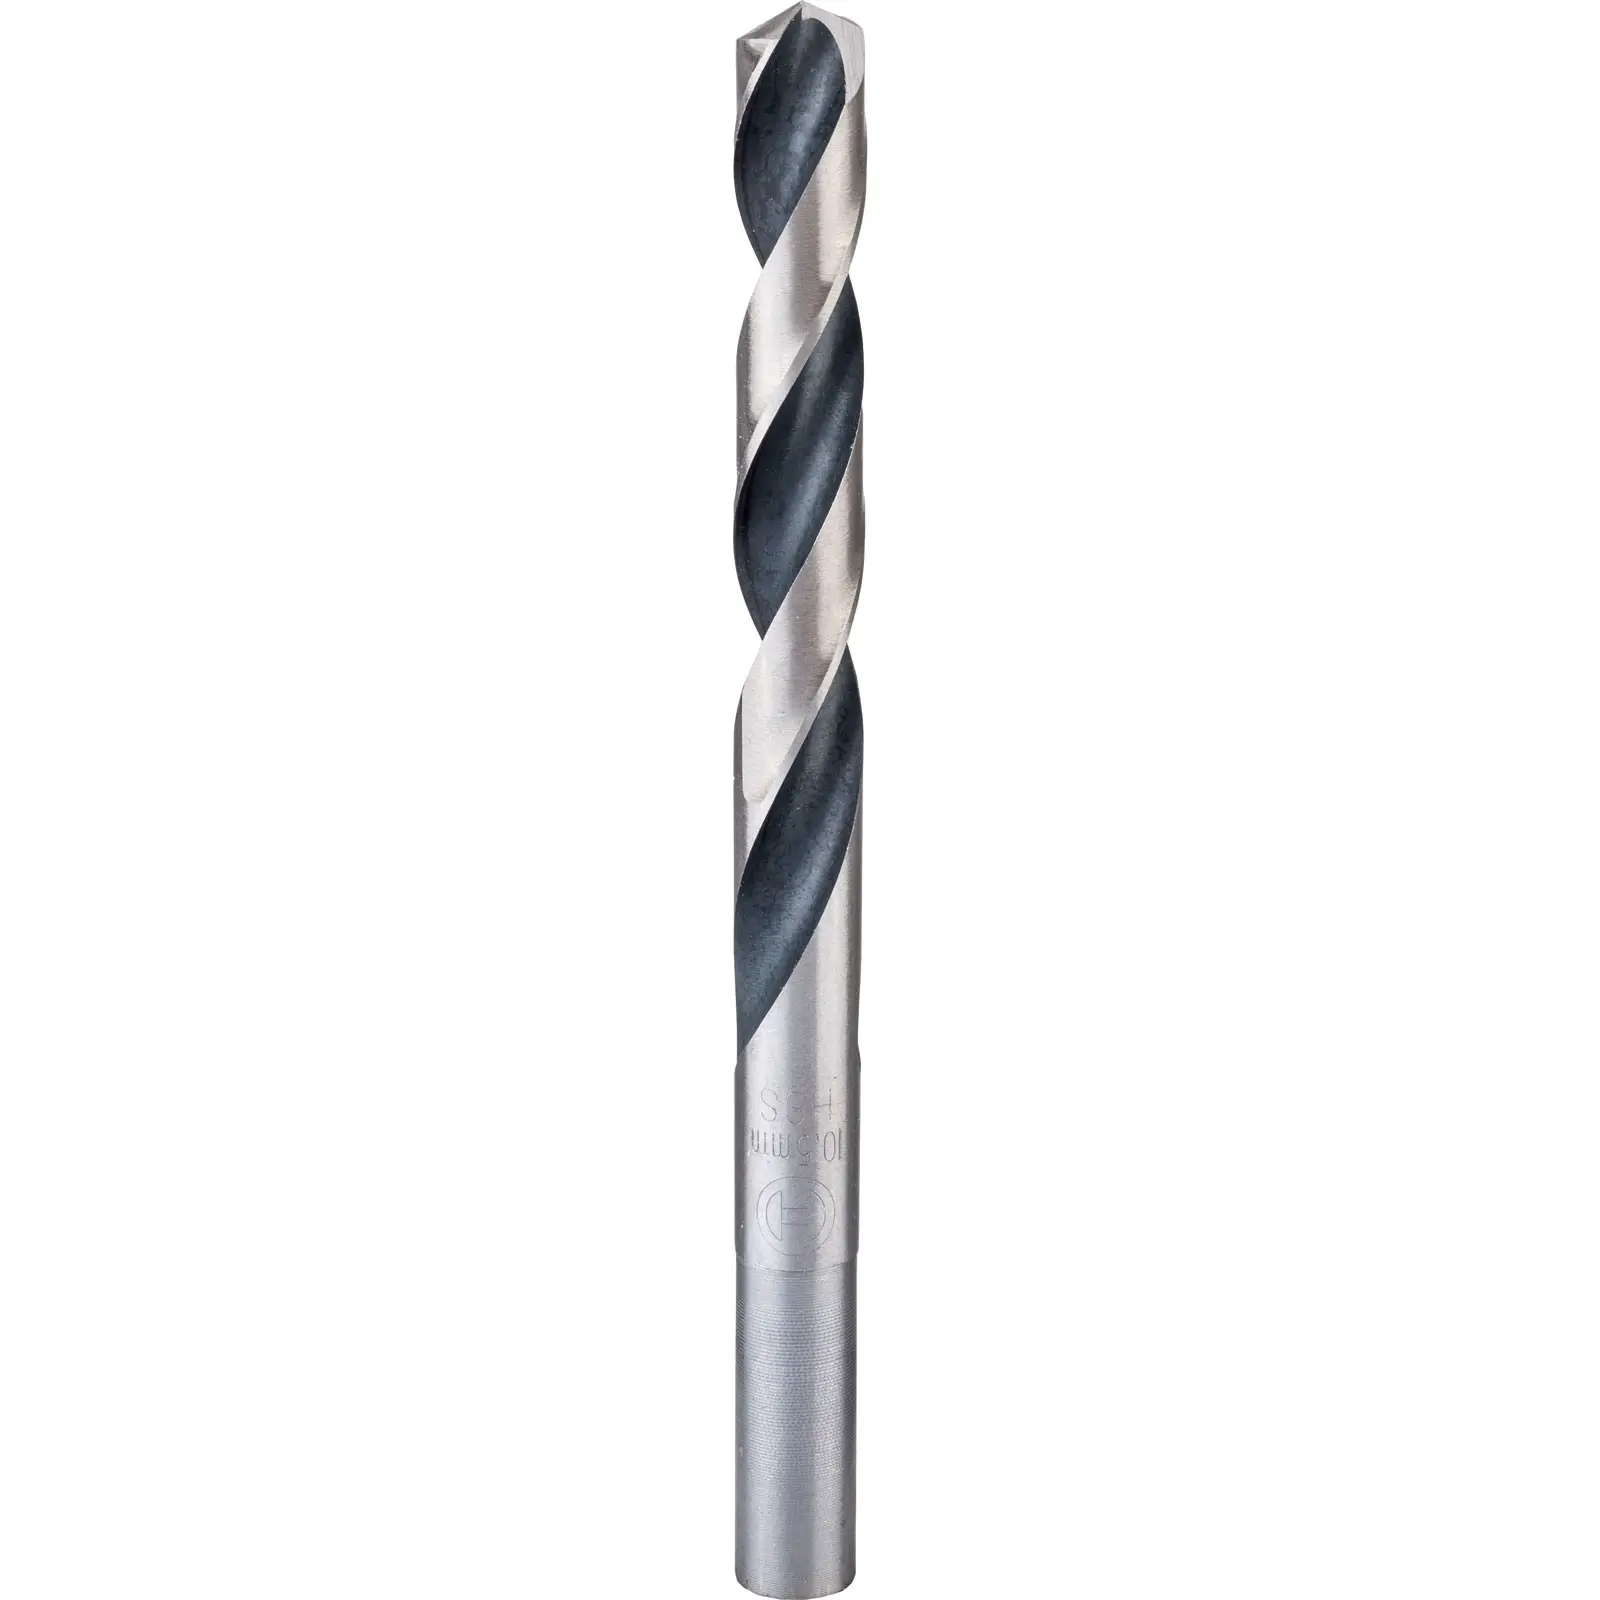
Twist drill bits – For drilling most regular holes into softwoods and hardwoods
Forstner bits – Typically used for drilling larger diameter holes, but with the benefit of having a totally flat face at the bottom of the hole, assuming that you are not intending on drilling all the way through the material.
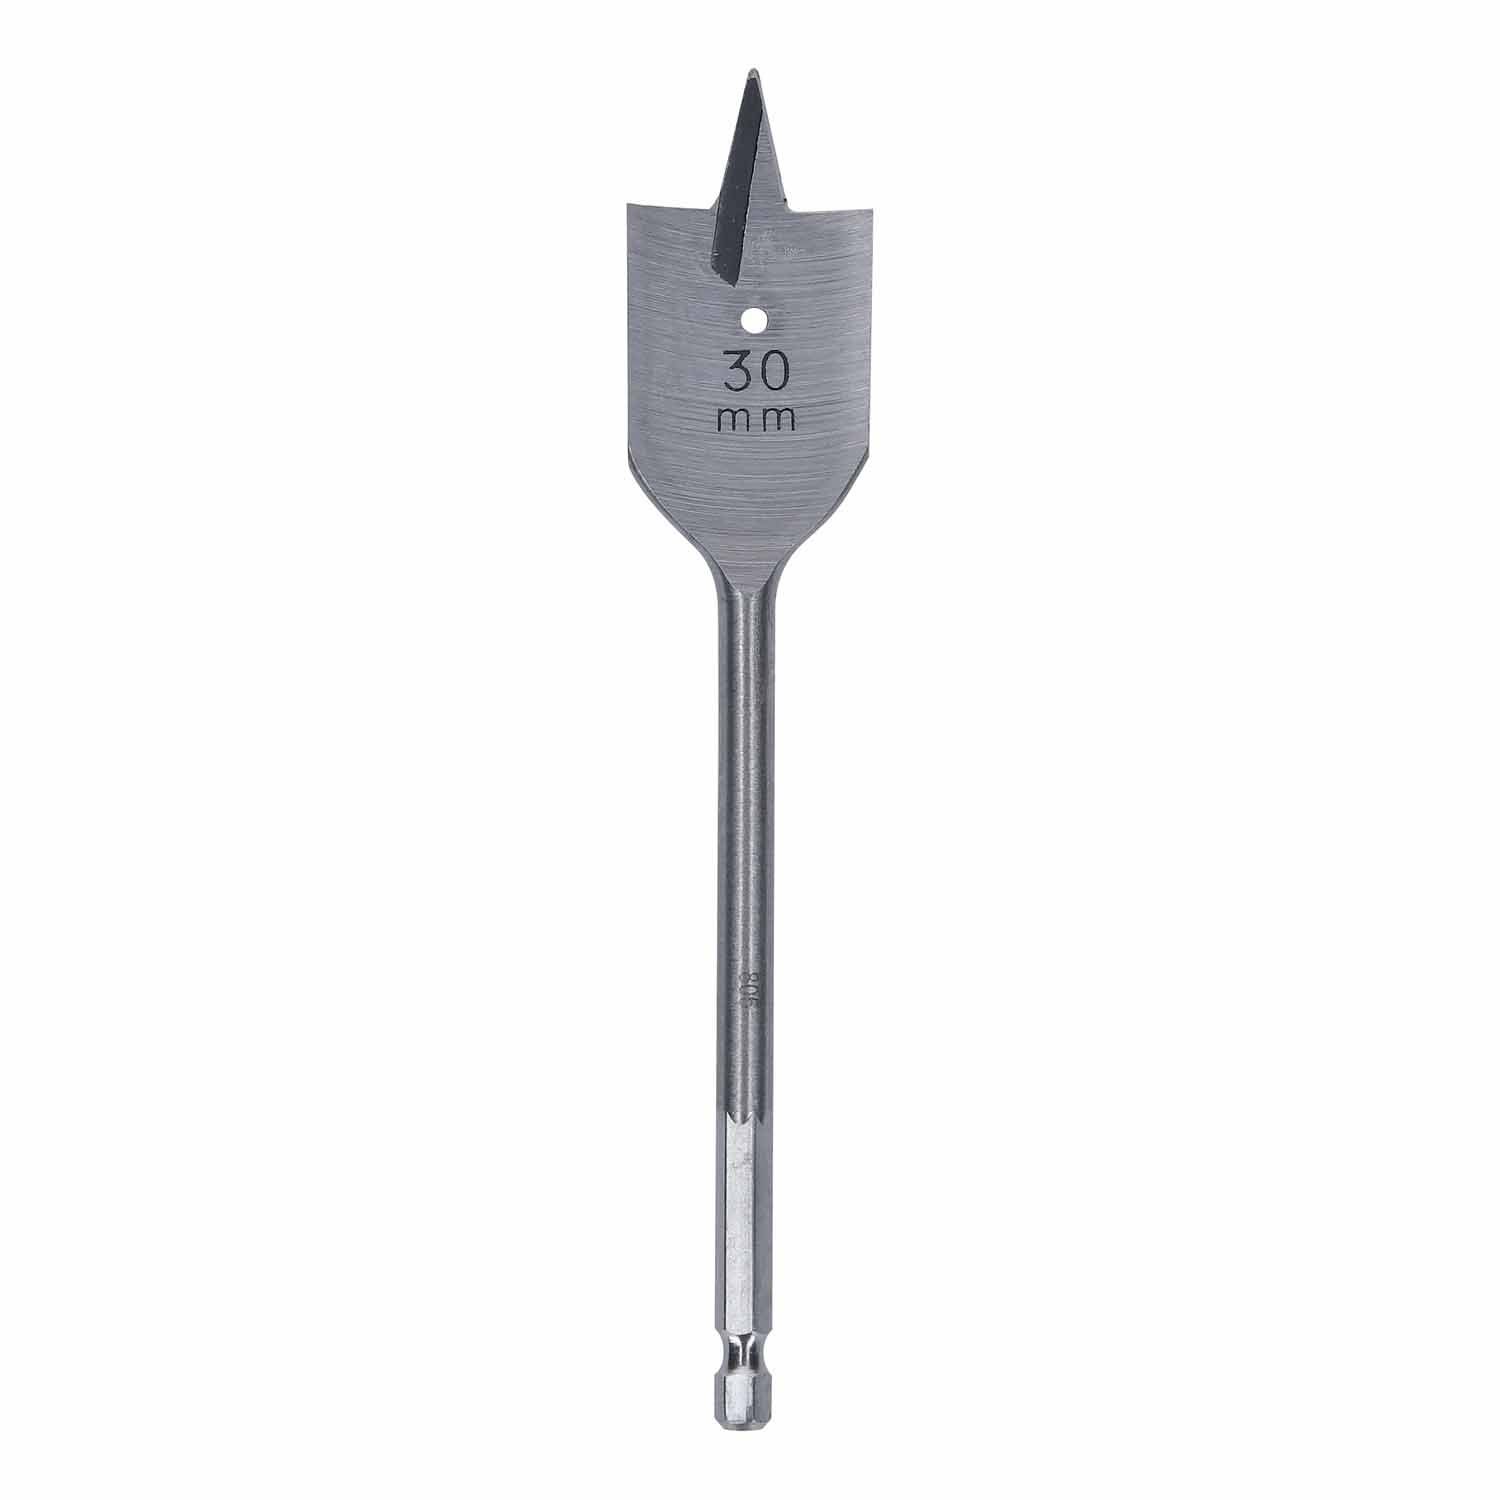
Flat/spade bits – Often used for drilling larger holes all the way through a piece of material. Their large diameter and shape means that they can clear wood shavings from the hole that you are drilling to keep the hole clear and stop the drill bit from clogging
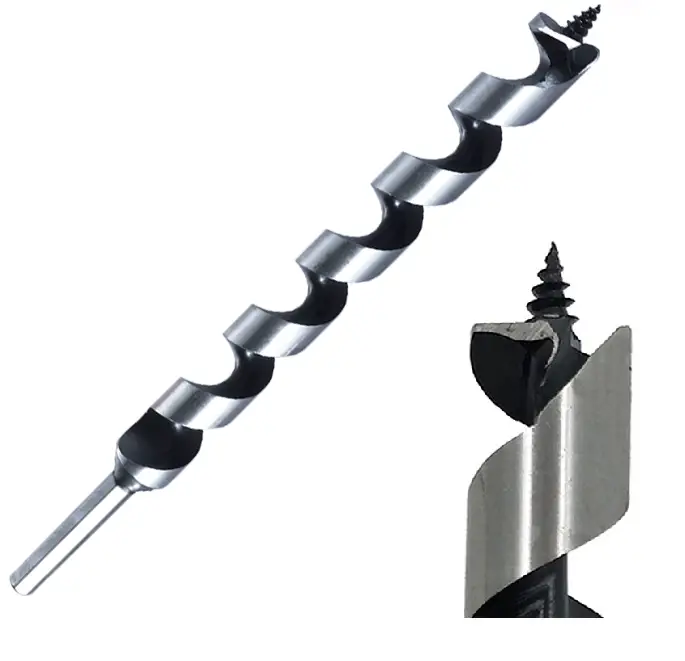
Auger bits – Ideal for drilling deep holes in hardwoods or other dense materials
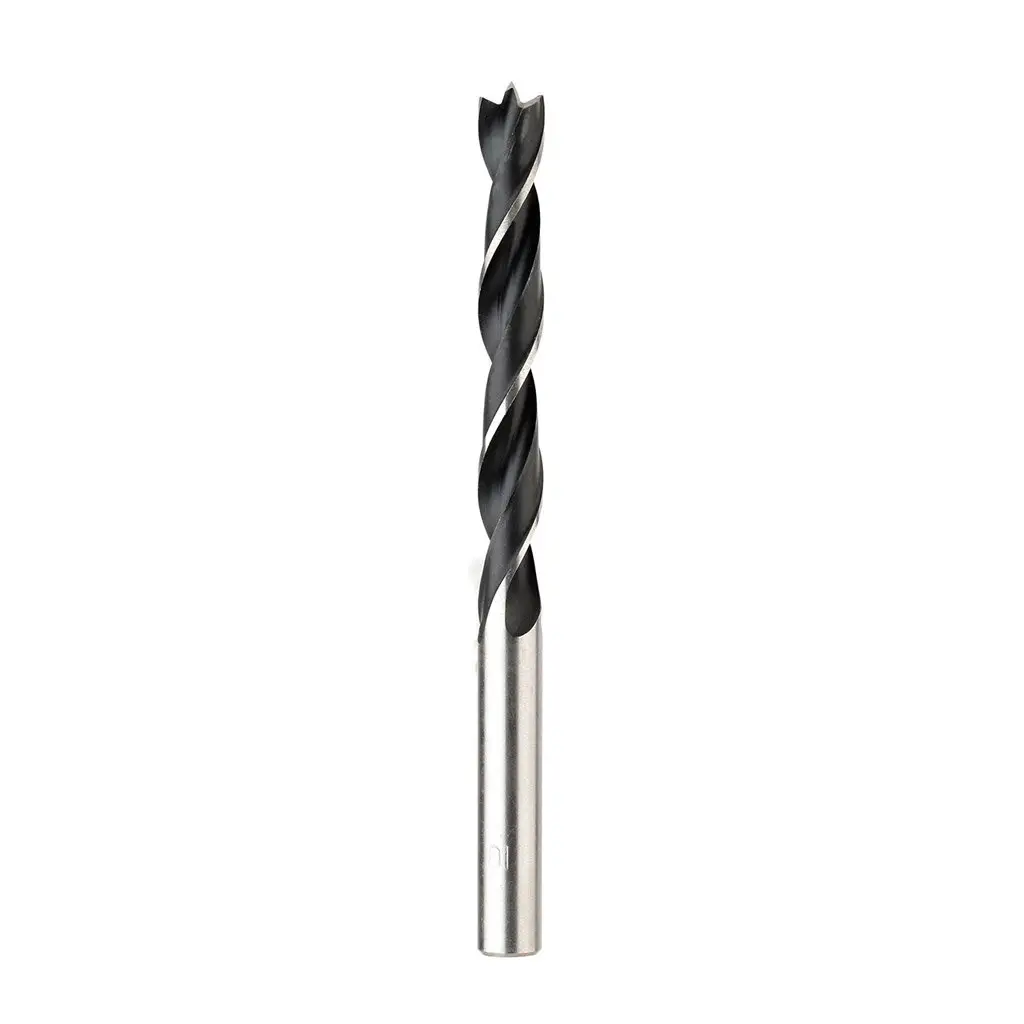
Brad-point drill bits – these are typically used for drilling holes that require a lot of accuracy, as the point at the tip of the drill bit keeps the bit centred on the material.

Step 4: Drill a pilot hole
Drilling a small pilot hole makes drilling a larger hole a lot easier as it helps you to align the hole more easily. Use a straight bit that is smaller than the size of the hole that you need. This will help prevent the wood from splintering and create a cleaner hole too.
You do not need to drill all the way through here, but just deep enough so that when you come to drill the hole to the final diameter, the drill bit has a straight path to follow.
Step 5: Setting the hole depth
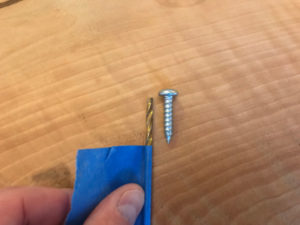 Set the depth of the hole on the drill bit by using a piece of painters tape and taping it to the drill bit at the point at which the drill bit has reached the required depth. You can set this depth by measuring the length of the rawl plug (if you are using one) or the screw or bolt that you are using if they are to be fully inserted into the hole.
Step 6: Torque and Speed
Depending on the material that you are drilling into, you will have to set your torque and drill speed accordingly.
For wood:
– Torque: use a high torque setting, which is typically between 30 and 100 in/lbs.
– Speed: start off with the slowest speed that you can for your material type before gradually increasing to higher speeds if this does not produce the desired result.
For metal or masonry:
-Torque: use a low torque setting of around 20 – 40 in/lbs as these materials are more durable than wood so require less pressure when drilling them.
-Speed: depending on what drill bit you’re using (high-speed steel versus carbide) will affect how fast or slow it needs to rotate; generally speaking, it’s best to start by drilling at the lowest possible speed before gradually moving up
Step 7: Drilling the hole
Holding the drill as straight as you can, supporting the weight of the drill and then carefully drill the hole.
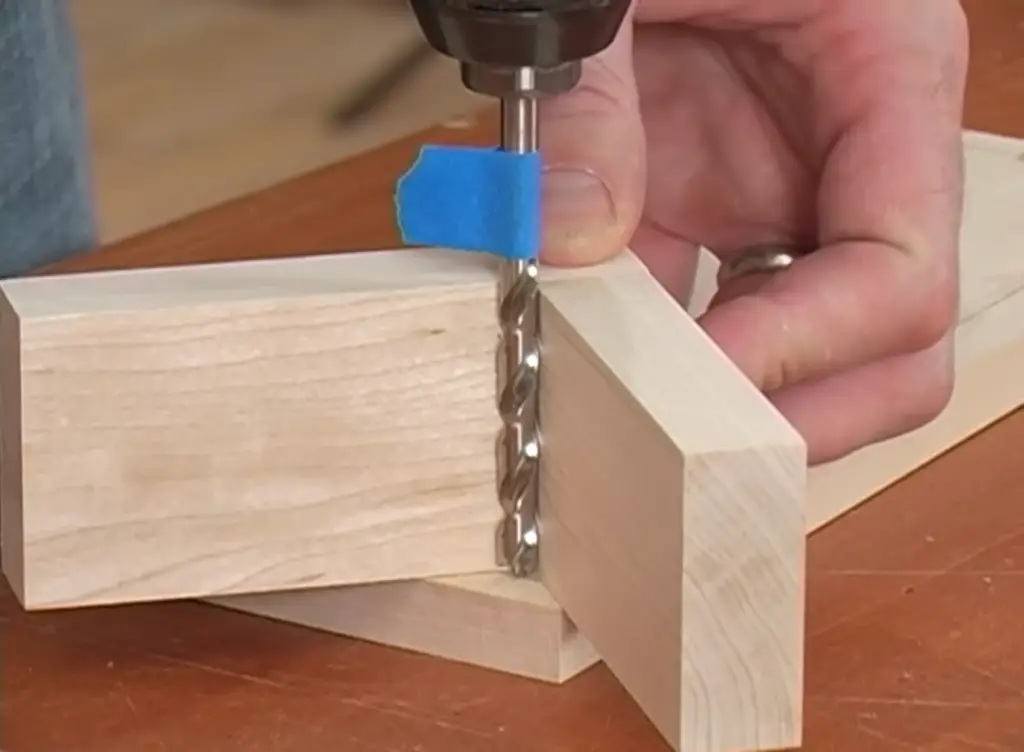
To ensure a straight cut, you can use a drill guide or an adjustable pillar bench press that clamps your drill into a vice, held at 90 degrees to the workpiece.


If you do not have either of the above pieces of equipment, you can always use a DIY drill guide. This consists of two pieces of squared timber (scraps or off-cuts will do) which are joined at right angles to each other in the photo shown.
This methods is so simple, it can be made for next to nothing, very quickly and is suitable for drill bits of any diameter.
https://youtu.be/46QsjgU2VD0
Various methods of how To drill perpendicular holes can be found in the video above.
Final thoughts
I hope you have enjoyed this blog post and learnt some tricks from me that will help make your woodworking projects easier. If you want to learn more, then please feel free to browse my woodworking beginner guides here.
If you have found this blog post useful and informative, please share it with your friends and colleagues who may also be looking for woodworking tips and tricks, including drilling straight holes!